Butterfinger Balls – A Bite-Sized Chocolate Dream You Can’t Resist
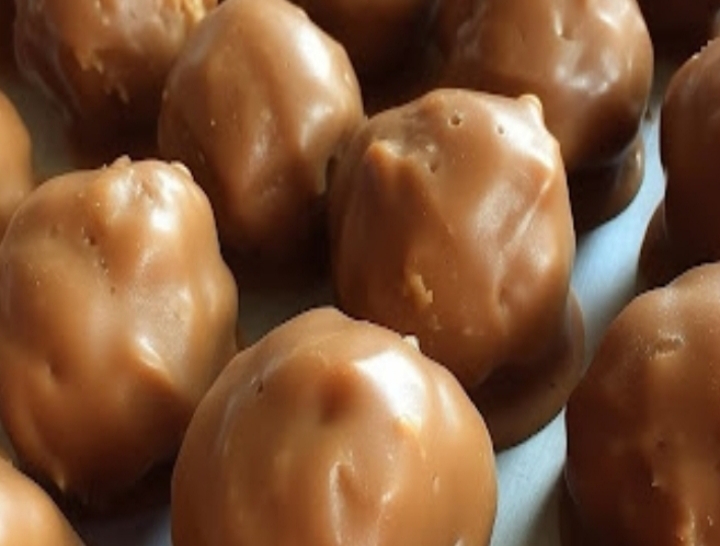
There’s something magical about the combination of creamy peanut butter, crunchy Butterfinger candy, and rich chocolate. These Butterfinger Balls are a decadent no-bake dessert that perfectly balances sweet, salty, and crispy textures in every bite. They’re incredibly easy to make, yet taste like something straight out of a gourmet candy shop. Whether you’re preparing a treat for the holidays, a potluck, or just a cozy night in, these little chocolate-coated bites will steal the show.
Why You’ll Fall in Love with Butterfinger Balls
This recipe captures everything people love about homemade candy treats — the crunchy sweetness of Butterfinger pieces blended with smooth peanut butter and coated in melted chocolate for the perfect contrast. Each bite melts in your mouth while delivering a satisfying crunch.
What makes this dessert truly irresistible is how simple it is. You don’t need an oven, fancy equipment, or even advanced cooking skills. All you need are a few ingredients, a mixing bowl, and a bit of patience as the balls chill.
Butterfinger Balls are also a make-ahead dessert — they store beautifully in the fridge or freezer, making them ideal for parties or gifting.
Ingredients and Their Delicious Roles
- 1 cup creamy peanut butter – The heart of the recipe, providing a creamy, nutty base that holds everything together.
- 1 ½ cups crushed Butterfinger candy bars – Add the signature crunchy texture and toffee-like sweetness.
- 1 ½ cups powdered sugar – Sweetens and firms up the mixture for perfect shaping.
- ½ cup unsalted butter, softened – Adds richness and smooth texture.
- 1 teaspoon vanilla extract – Enhances flavor depth and aroma.
- 2 cups semi-sweet chocolate chips – For coating the balls in a glossy, delicious shell.
- 1 tablespoon shortening or coconut oil – Helps the chocolate melt smoothly for a professional finish.
Step-by-Step Instructions
Step 1: Crush the Butterfinger Bars
Place the Butterfinger bars in a zip-top bag and crush them using a rolling pin. Keep them in small chunks for the best texture.
Step 2: Prepare the Peanut Butter Mixture
Mix peanut butter, softened butter, and vanilla extract until smooth. Gradually add powdered sugar until a dough-like texture forms.
Step 3: Add the Crushed Butterfingers
Fold in the crushed Butterfinger pieces until evenly distributed throughout the mixture.
Step 4: Roll the Balls
Using a small scoop, roll the mixture into 1-inch balls and place on parchment paper. If sticky, refrigerate for 15 minutes before rolling.
Step 5: Chill the Balls
Refrigerate for about 30 minutes until firm enough for dipping.
Step 6: Melt the Chocolate
In a microwave-safe bowl, melt chocolate chips with shortening or coconut oil in 30-second intervals, stirring between each until smooth.
Step 7: Dip and Coat
Dip each chilled ball into the melted chocolate using a fork. Let excess chocolate drip off before placing them back on the parchment paper.
Step 8: Set the Chocolate
Refrigerate the coated balls for 30–45 minutes until the chocolate shell hardens completely.
Pro Tips for the Best Butterfinger Balls
- Use room temperature ingredients for smooth blending.
- Don’t overheat the chocolate — melt it slowly for a shiny coating.
- Keep hands cool while rolling to prevent melting.
- Add a pinch of salt to enhance the flavor balance.
- Experiment with different chocolate coatings or drizzles for variety.
Why Everyone Loves These Butterfinger Balls
These candies blend nostalgia and indulgence in every bite. They’re like your favorite candy bar reinvented in homemade form. Perfect for holidays, parties, or gifting — and the best part? They’re no-bake and freezer-friendly.
Serving Suggestions
- Arrange on a dessert platter with assorted truffles.
- Serve chilled for the best texture.
- Pair with coffee or hot chocolate.
- Drizzle with caramel or peanut butter.
- Gift in decorative boxes or jars.
Storage and Freezing Tips
- Refrigerator: Store in an airtight container for up to 2 weeks.
- Freezer: Freeze for up to 3 months; thaw in the fridge before serving.
- Avoid humidity to keep the chocolate coating smooth.
Fun Variations to Try
- Oreo Butterfinger Balls: Add crushed Oreos for extra crunch.
- Nutella Version: Replace half the peanut butter with Nutella.
- White Chocolate Coating: Perfect for a festive touch.
- Cheesecake Balls: Mix in cream cheese for a softer texture.
Troubleshooting
- Mixture too soft? Add more powdered sugar or chill longer.
- Chocolate too thick? Add a teaspoon of coconut oil.
- Balls falling apart? Chill longer before dipping.
Nutritional Info (Approximate per Ball)
Calories: 160 | Fat: 10g | Sugar: 12g | Protein: 3g
Conclusion – The Ultimate Sweet Treat
If you’re looking for a quick, no-bake dessert that looks impressive and tastes like it came from a chocolatier, these Butterfinger Balls are the answer. They’re creamy, crunchy, chocolatey, and absolutely addictive — the kind of treat you can’t eat just one of. Perfect for any occasion, easy to make, and guaranteed to impress.